
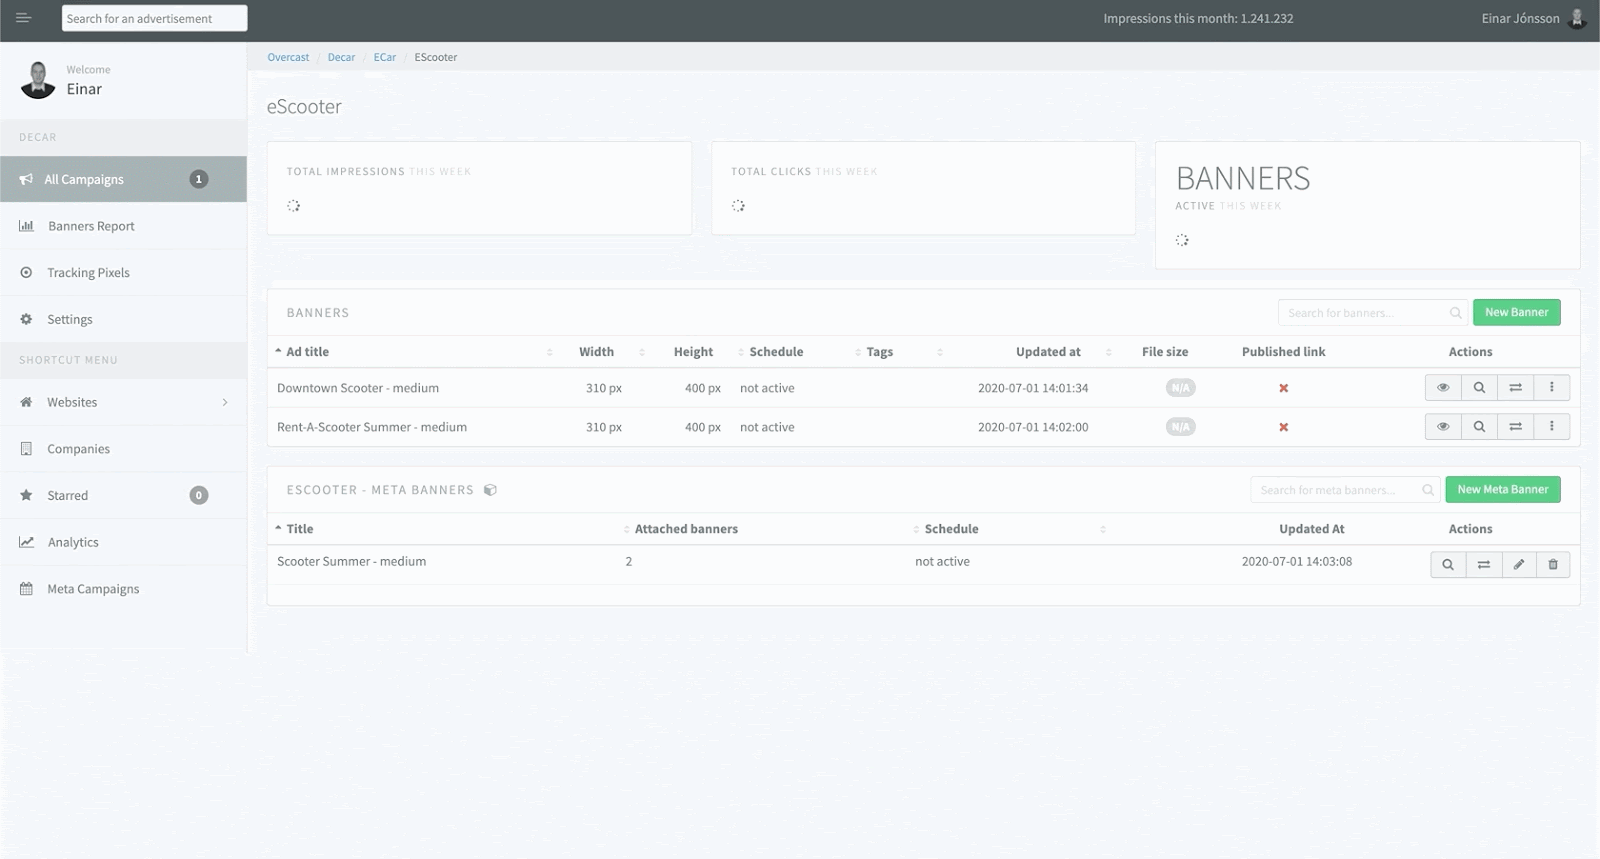
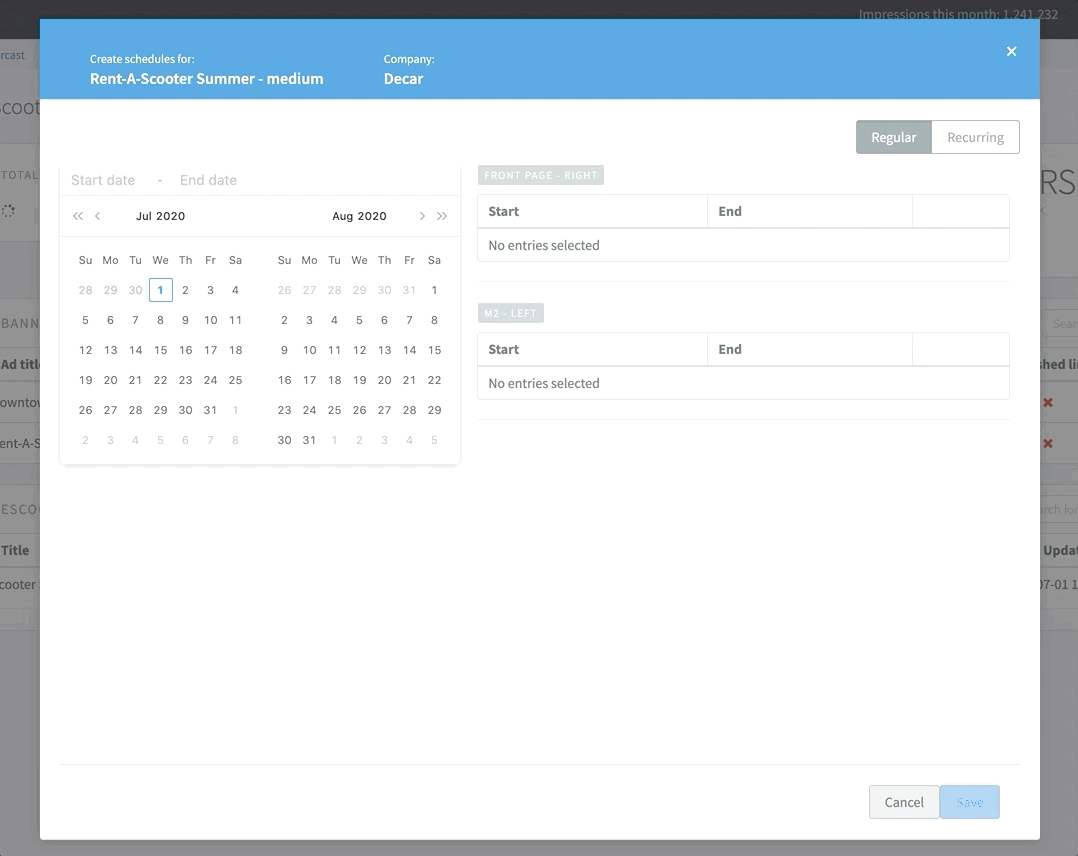
Once you’ve uploaded your banner, you can immediately create a schedule for it by clicking the ![]() ‘Schedule’ button. Here you will see a list of eligible zones that you want your banner to appear in. After clicking next, you will be able to select a date-range for your schedules.
‘Schedule’ button. Here you will see a list of eligible zones that you want your banner to appear in. After clicking next, you will be able to select a date-range for your schedules.
Note: After selecting the date range, individual schedules may be tweaked before saving.
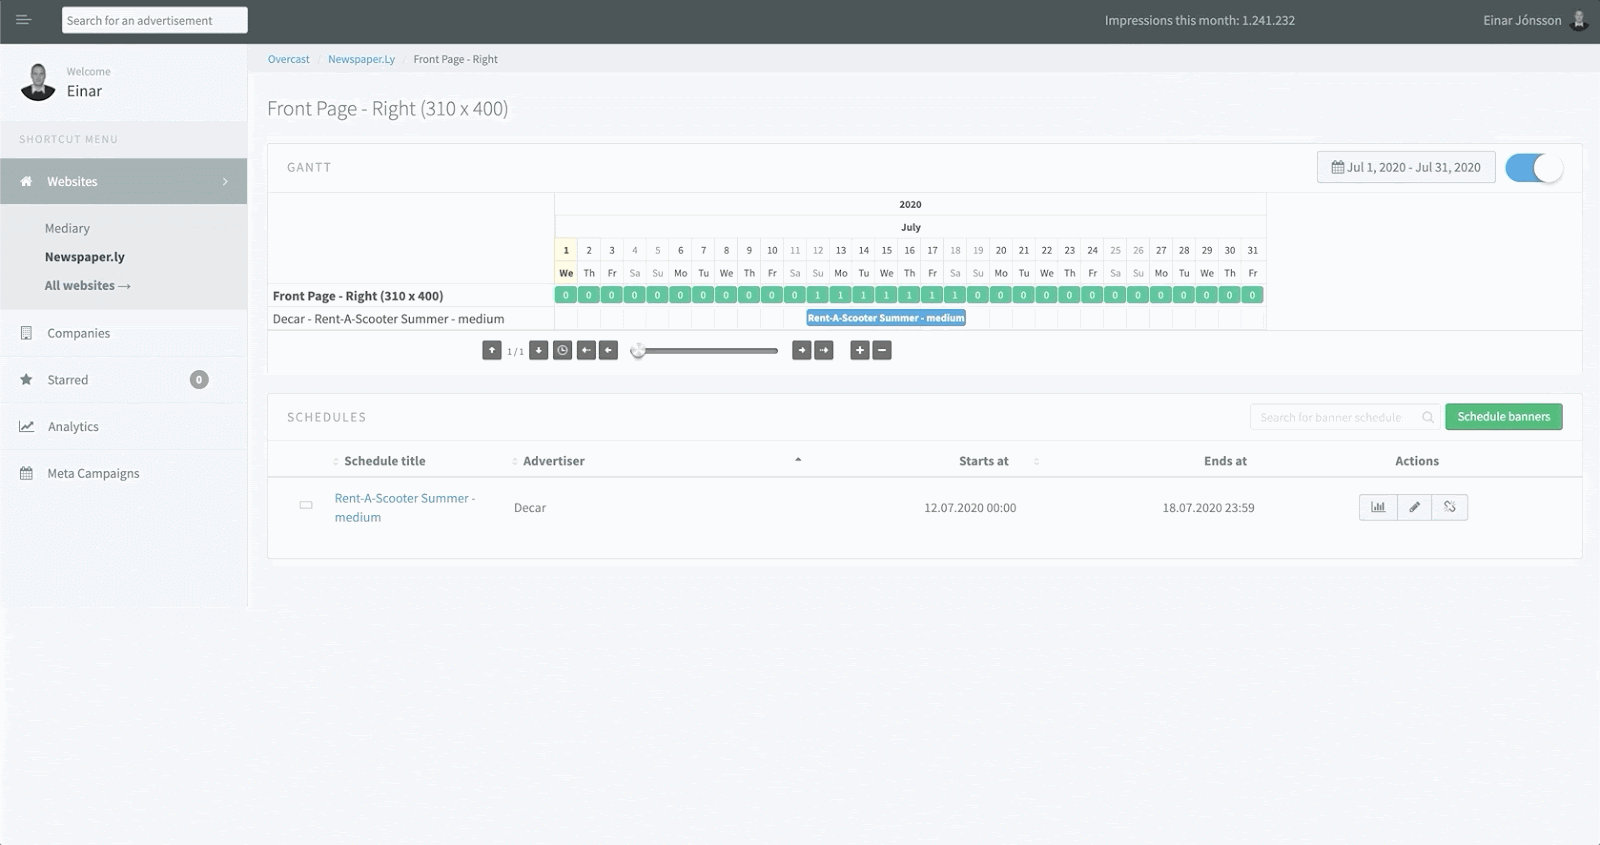
Alternatively, if you have uploaded a lot of banners and want to schedule them all at once for a single zone, you can navigate to the zone and press the ‘schedule banners’ button. There you can select multiple banners and schedule in the same way you would schedule a single banner.
You can always edit the schedule date-range after the fact if need be.
Once you’ve scheduled your advertisements, you can see real-time numbers for impressions, clicks and inscreen views.
Comments
0 comments
Article is closed for comments.